BEAUTY + STYLE
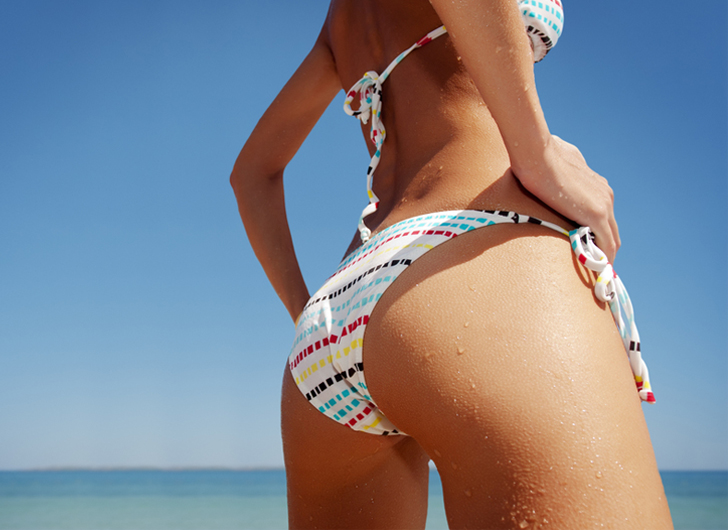
Bronzed and Beautiful: 20 Tips to Make Your Fake Tan Look Natural
Shutterstock
Fake tanning has become a popular way to achieve a sun-kissed glow without the risks of sun damage. Whether you’re looking for a subtle radiance or a deep bronze, self-tanners offer a safe and convenient alternative to traditional tanning methods. However, achieving a flawless tan requires the right preparation, application, and maintenance. From choosing the right product to ensuring an even, streak-free finish, there are several key factors to consider. This guide will walk you through everything you need to know about fake tanning so you can enjoy a natural-looking glow all year round.
Types of Fake Tan Products

Shutterstock
Fake tanning products come in various formulations, including mousses, sprays, lotions, and gradual tanners. Mousses and sprays are quick-drying and great for an instant bronzed look, while lotions and gradual tanners offer more control over the depth of color. Some products develop over time, requiring a few hours before the final shade appears, while others provide immediate results. Choosing the right formula depends on your skin type, tanning goals, and level of experience with self-tanning.
Skin Preparation is Key

Shutterstock
Proper skin preparation can make or break your fake tan. Exfoliating 24 hours before application helps remove dead skin cells, allowing the product to absorb evenly and last longer. Skipping this step may result in patchy areas where the tan clings to dry, rough skin. A smooth, well-prepped canvas ensures a flawless and natural-looking glow.
Moisturizing Matters

Shutterstock
Dry skin absorbs more tanning product, leading to darker patches in certain areas like elbows, knees, and ankles. Applying a lightweight, oil-free moisturizer before tanning can help even out absorption and prevent an unnatural look. Be sure to let the moisturizer fully absorb before applying your self-tanner. Hydrated skin not only helps prevent streaks but also ensures that your tan lasts longer and fades evenly.
Test for Allergies

Shutterstock
Some fake tans contain ingredients that can trigger allergic reactions, especially for those with sensitive skin. It’s always best to perform a patch test 24 hours before full application to check for irritation, redness, or itchiness. Apply a small amount of the product to a discreet area, such as behind your ear or on your wrist. If no reaction occurs, you can confidently proceed with tanning without worrying about adverse skin effects.
Shaving and Waxing Timing

Shutterstock
Hair removal methods like shaving and waxing can leave the skin sensitive and prone to irritation if done too close to applying a fake tan. Ideally, you should shave or wax at least 24 hours before self-tanning to allow the skin time to calm down. Freshly shaved skin can also cause the tan to settle into pores, resulting in an uneven, dotted effect. Allowing time between hair removal and tanning helps create a smoother, more natural-looking finish.
Choose the Right Shade

Shutterstock
Selecting the right shade of fake tan is crucial for a natural look. Choosing a shade too dark for your skin tone can create an artificial or even orange appearance. If you’re unsure, start with a lighter shade and gradually build up color with multiple applications. Matching your tan to your natural undertones ensures a seamless and believable sun-kissed glow.
Application Tools Help

Shutterstock
Using a tanning mitt or brush ensures a streak-free and even application. These tools help distribute the product smoothly while preventing your hands from absorbing too much color. Without a mitt, your palms can end up significantly darker than the rest of your body, which looks unnatural. A good-quality mitt also allows you to blend the tan into tricky areas like wrists and ankles more effectively.
Blend Carefully

Shutterstock
Blending is the secret to a flawless fake tan. Pay special attention to areas where the skin naturally folds, such as elbows, knees, fingers, and underarms. These areas can absorb more product, so lightly buffing them with a dry brush or blending with a small amount of moisturizer can prevent dark patches. The goal is to create a seamless transition between tanned and untanned areas for a natural look.
Start Light, Build Gradually

Shutterstock
It’s always better to apply a light layer of fake tan first and build up intensity over time. Applying too much product at once can result in streaks, uneven color, or an unnatural finish. Gradual tanning lotions are a great option for those who want more control over the shade. Adding a new layer every day or every other day lets you adjust the color to your preference while avoiding mistakes.
Drying Time is Crucial

Shutterstock
Rushing the drying process can lead to smudging and streaking, ruining your tan before it fully develops. Most self-tanners require at least 10-20 minutes to dry before putting on clothes. Opt for loose, dark clothing to minimize friction and staining. Avoid sweating or coming into contact with water for several hours to let the tan develop evenly.
Clothing Choices Matter

Shutterstock
Wearing the wrong clothing after applying fake tan can lead to patchy results. Tight clothing can rub against your skin, causing streaks or removing the product in certain areas. Dark, loose-fitting clothing is ideal to prevent staining and allow the tan to set properly. Fabrics like silk and satin should be avoided as they can absorb and transfer the tan.
Avoid Water Immediately After

Shutterstock
Water exposure too soon after applying a fake tan can ruin the results. Showering, sweating, or even washing your hands can lead to uneven streaks. Most self-tanners need at least 6-8 hours to fully develop, so it’s best to apply before bed. If you do need to wash your hands, use a damp cloth instead of running water to minimize tan removal.
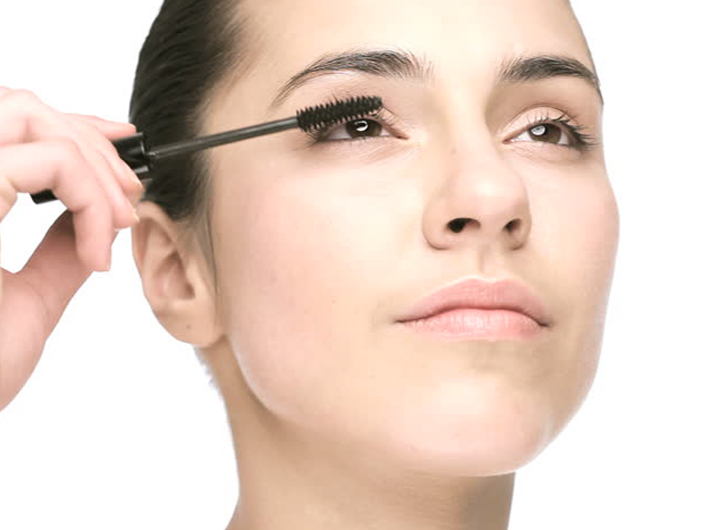
Face Tanning Tips

Shutterstock
Your face requires a different approach when applying fake tan. The skin on your face is more sensitive and absorbs product differently than the rest of your body. Opt for a self-tanner designed specifically for facial use, or mix a small amount of body tanner with your daily moisturizer for a subtle glow. Be sure to blend into your hairline and down your neck to avoid harsh lines.
Tan Maintenance

Shutterstock
To keep your tan looking fresh, daily hydration is key. Dry skin can cause your tan to fade unevenly, leading to patchiness. Avoid long, hot showers and excessive exfoliation, as these can strip the tan more quickly. Instead, use a gentle, hydrating body wash and apply moisturizer daily to maintain your glow.
Reapply as Needed

Shutterstock
Fake tans usually last between 5-7 days, but how long they stay fresh depends on your skin type and routine. To maintain your tan, reapply every few days, but ensure you exfoliate lightly beforehand to avoid buildup. Layering too many applications without proper exfoliation can lead to a patchy and uneven appearance. A gradual tanning lotion can be a great way to extend your tan without it looking too heavy.
Beware of Hands and Feet

Shutterstock
Your hands and feet tend to absorb more tanner, which can lead to an unnatural, overly dark appearance. To avoid this, apply only a small amount of product and blend well, using a brush or mitt. Wiping off excess tan from knuckles, fingernails, and in-between toes can help prevent dark patches. Using a light touch and moisturizing these areas beforehand can create a more natural, seamless finish.
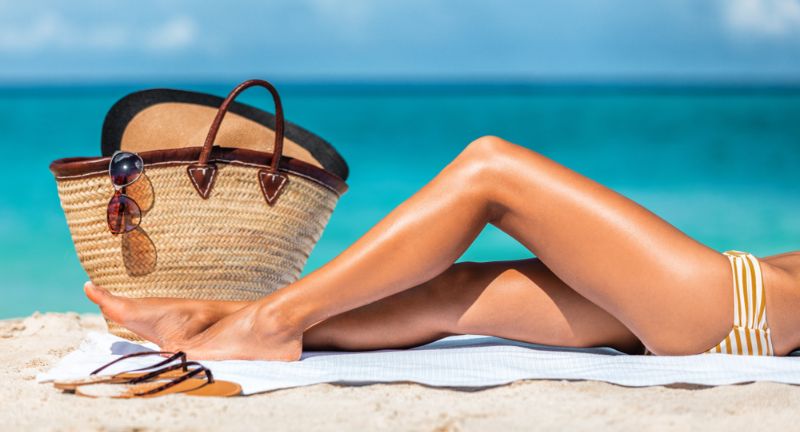
Sun Protection is Still Necessary

Shutterstock
Fake tan gives you a bronzed glow, but it does not protect your skin from harmful UV rays. Many people mistakenly believe that having a tan means they don’t need sunscreen, which is not true. Always apply a broad-spectrum SPF when going outside, even if your skin appears darker. Sunburn can still occur, and UV damage will cause your tan to fade unevenly.
Correcting Mistakes

Shutterstock
If you notice streaks, patches, or an uneven tan, don’t panic—there are ways to fix it. Lightly exfoliate the affected areas using a gentle scrub or a baking soda and lemon juice mixture. A tan remover product can also help erase mistakes without over-exfoliating your skin. Applying a small amount of body oil and letting it sit for a few minutes before showering can also help lift excess tan from problem areas.
Hydrate From the Inside

Shutterstock
Drinking enough water can help maintain your tan and keep your skin looking radiant. Hydrated skin holds onto color longer, while dehydrated skin may cause the tan to fade unevenly or appear dull. Eating water-rich foods like cucumbers, watermelon, and oranges can also contribute to skin hydration. A well-moisturized body from both inside and out will ensure a longer-lasting, healthy-looking tan.
Know When to Avoid Tanning

Shutterstock
There are times when applying a fake tan is not the best idea. If you have irritated, sunburned, or freshly exfoliated skin, fake tan can cause further discomfort and an uneven application. It’s also best to skip tanning if you have an important event coming up and you’re trying a new product for the first time—test runs are always recommended. Waiting until your skin is in its best condition will ensure a smoother and more natural-looking result.
Conclusion

Shutterstock
Achieving the perfect fake tan takes a little preparation, the right techniques, and proper aftercare. By following these tips, you can avoid streaks, patchiness, and other common self-tanning mistakes. Whether you’re maintaining a year-round glow or just looking for a sun-kissed boost, a well-applied tan can enhance your confidence and appearance. Remember to exfoliate, moisturize, and choose the right product for your skin type to ensure the best results. With a little practice, you can master the art of fake tanning and enjoy a flawless, natural-looking glow anytime you want.