PLAY
iPhone Photography 101: Tips to Shoot Like a Pro
Published
2 months agoon

Shutterstock
Your iPhone is more than just a convenient device for snapshots; it’s a powerful tool for capturing professional-quality photos. With the right techniques, you can elevate your photography skills and create stunning images that rival those taken with high-end cameras. From mastering lighting to leveraging your phone’s advanced features, every detail can make a difference. Whether you’re capturing breathtaking landscapes, detailed close-ups, or everyday moments, these tips will help you unlock your iPhone’s full potential. Get ready to transform your photography game with these practical and easy-to-follow suggestions.
Clean Your Lens
Shutterstock
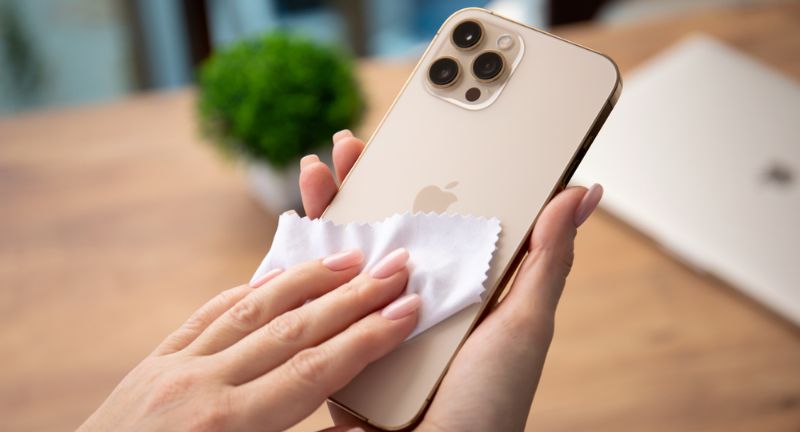
A clean lens is crucial for capturing crisp, professional-looking photos with your iPhone. Smudges or fingerprints can make your shots look blurry or dull, no matter how perfect the composition. Keep a microfiber cloth handy and gently wipe the lens before taking pictures. This simple habit ensures that you’re working with a clean slate for your photography.
Use Gridlines for Composition
Shutterstock
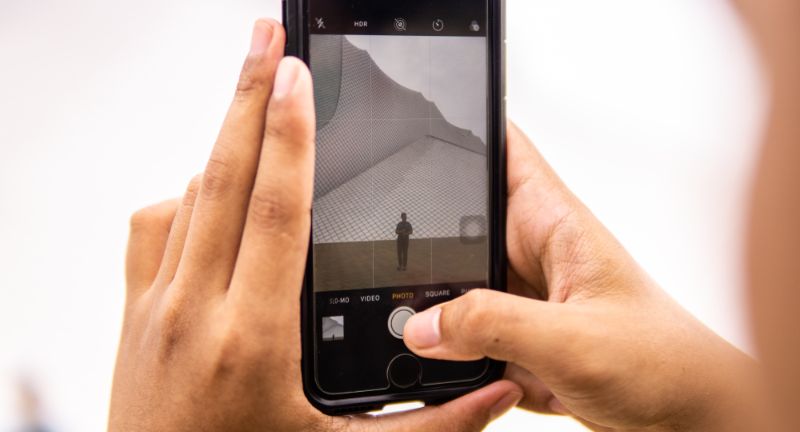
Gridlines help you follow the rule of thirds, a fundamental principle in photography. By dividing your screen into nine equal parts, you can position your subject at the intersections for a balanced and aesthetically pleasing photo. To activate gridlines, go to your iPhone settings and enable them in the camera options. This feature helps create visually striking compositions without extra effort.
Adjust Focus and Exposure
Shutterstock
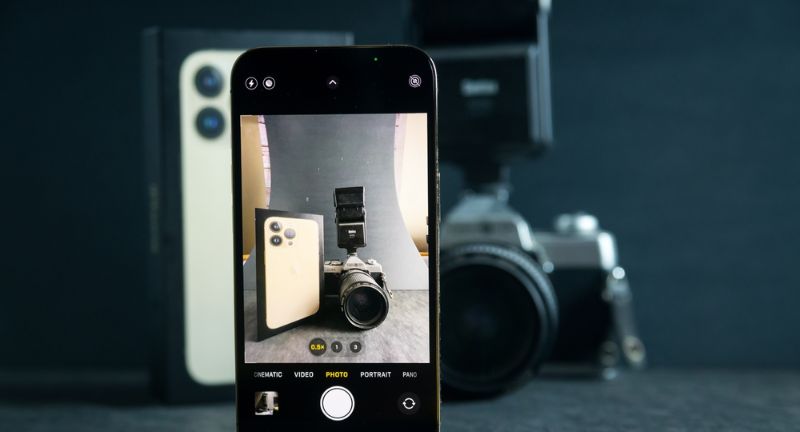
Tapping your screen to set the focus ensures your subject is sharp and clear. Once you tap, you’ll notice a sun icon appear, which you can slide up or down to adjust the exposure. Proper exposure ensures your photo isn’t too dark or overly bright, creating a professional-looking balance. This small adjustment can make a significant difference in how your final image turns out.
Avoid Digital Zoom

Shutterstock
Digital zoom may seem convenient, but it reduces the quality of your photos by cropping the image. Instead, physically move closer to your subject to maintain the sharpness and detail of your photo. If moving closer isn’t possible, consider cropping the image during editing instead. This approach ensures your photos look more polished and professional.
Use Natural Light
Shutterstock
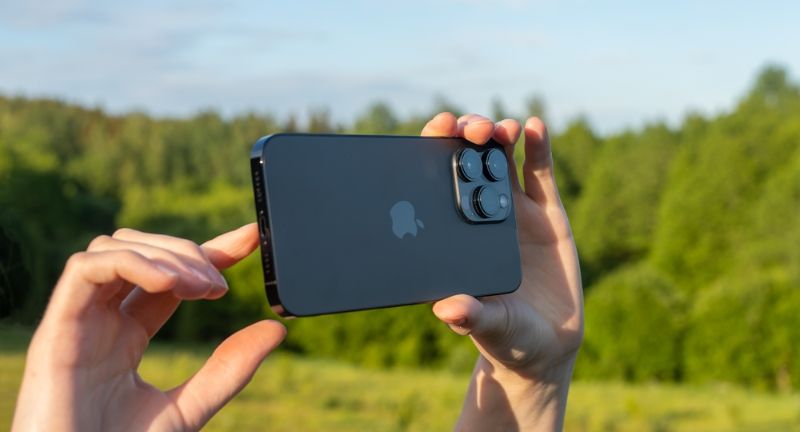
Natural light is one of the most flattering sources of illumination for your photos. Aim to shoot during golden hours—shortly after sunrise or before sunset—for soft, warm light that enhances your subject. Harsh midday sunlight can create strong shadows and overexposed areas, so look for shaded spots if you must shoot during that time. Working with natural light adds a professional, high-quality feel to your photos.
Experiment with Portrait Mode

Shutterstock
Portrait Mode on iPhones creates a depth-of-field effect, blurring the background and keeping your subject in sharp focus. This feature mimics the look of professional DSLR cameras, especially when photographing people or objects. Experiment with the different lighting effects in Portrait Mode to add a creative touch to your shots. Whether it’s a dramatic studio light effect or natural contours, Portrait Mode helps your photos stand out.
Stabilize Your Phone
Shutterstock
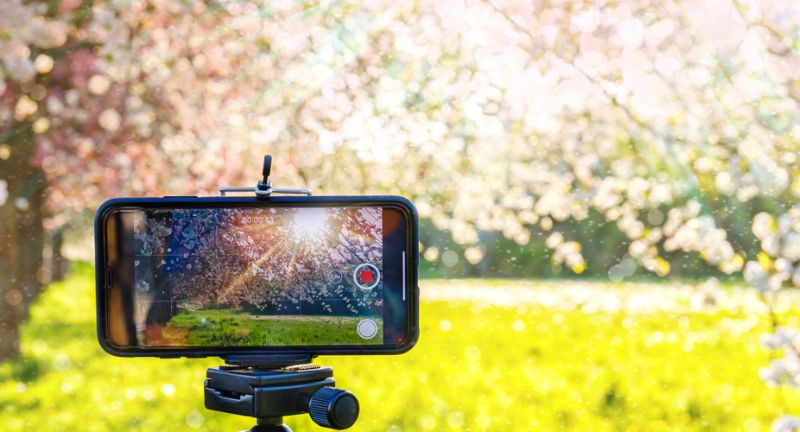
Shaky hands can ruin an otherwise perfect photo, especially in low-light conditions. Use a tripod or lean against a stable surface to steady your phone while taking pictures. For added stability, consider using the volume button on your headphones or a Bluetooth remote to snap the shot. Keeping your phone steady ensures sharper images that look professional.
Enable HDR Mode
Shutterstock
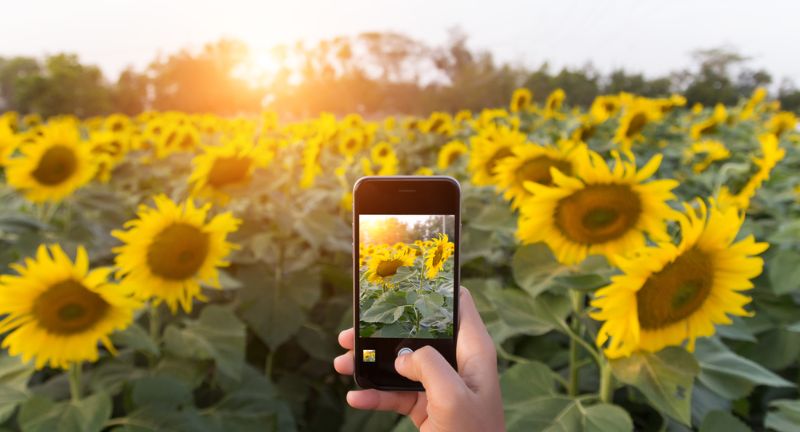
HDR, or High Dynamic Range, captures more detail in both the highlights and shadows of your photos. This mode is particularly useful in high-contrast scenes, such as landscapes with bright skies and dark foregrounds. Enable HDR in your camera settings to let your iPhone automatically balance the exposure across the frame. The result is a photo with richer colors and improved clarity.
Use Live Photos for Movement
Shutterstock
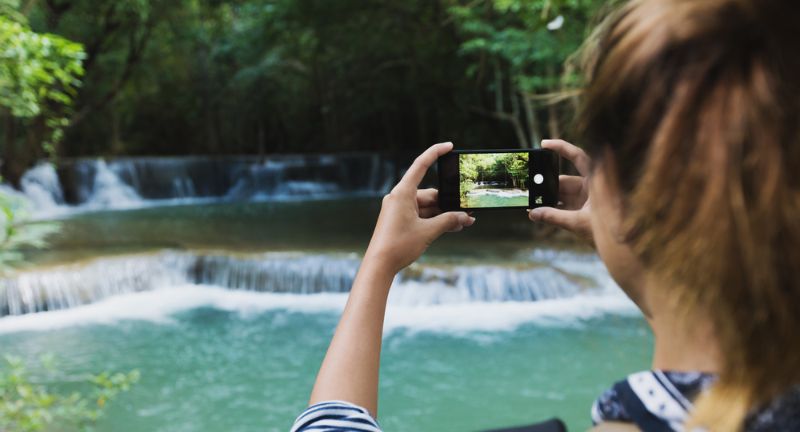
Live Photos capture a few seconds of motion before and after your shot, adding a dynamic element to still images. This feature is perfect for lively moments, such as a child’s laughter or a scenic waterfall. You can also turn Live Photos into short videos or GIFs for creative sharing. With a little movement, your iPhone photos come to life.
Shoot in Burst Mode

Shutterstock
Burst Mode allows you to capture a series of photos in quick succession by holding down the shutter button. This is ideal for action shots or capturing fleeting moments like a jump or a smile. Afterward, you can select the best frame from the burst and delete the rest. Burst Mode ensures you never miss the perfect moment.
Edit Sparingly
Shutterstock
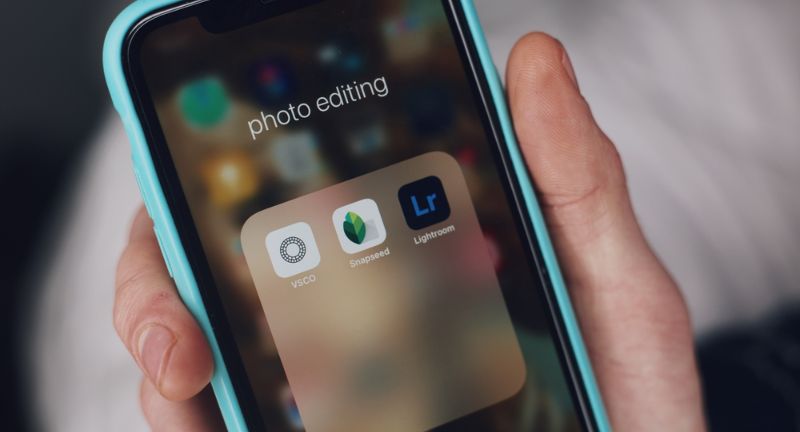
Editing apps like Lightroom or Snapseed can enhance your photos, but over-editing can make them look artificial. Focus on minor adjustments to lighting, contrast, and sharpness to bring out the natural beauty of your shots. Avoid filters that dramatically change colors or textures unless it serves a creative purpose. The best edits enhance your photo without overwhelming it.
Leverage Leading Lines
Shutterstock
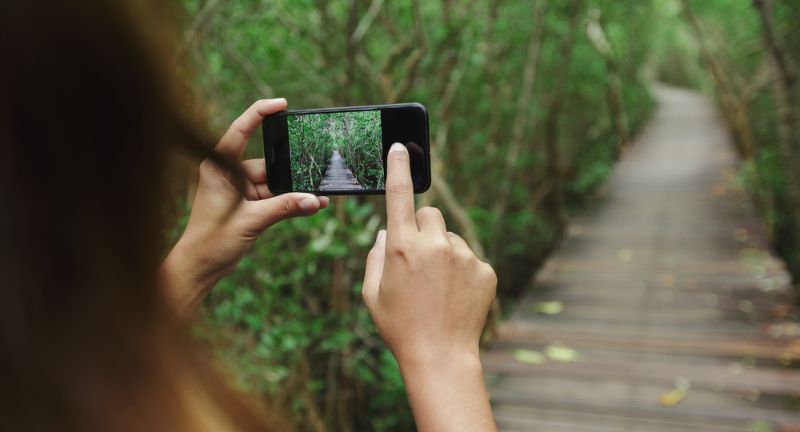
Leading lines draw the viewer’s eyes toward the main subject of your photo, creating depth and a sense of direction. Roads, fences, rivers, or even shadows can act as natural leading lines. Position these elements in your frame to guide the viewer and make your composition more dynamic. Mastering this technique adds a professional touch to your iPhone photography.
Play with Angles

Shutterstock
Don’t limit yourself to eye-level shots; experiment with high or low angles for unique perspectives. Shooting from a low angle can make your subject look larger-than-life, while a high angle offers an interesting bird’s-eye view. Changing angles can add drama and creativity to your photos. This approach is especially useful for travel or architectural photography.
Shoot in RAW Format

Shutterstock
Shooting in RAW format captures more image data, giving you greater flexibility in post-processing. Apps like Halide make this feature accessible on iPhones, allowing you to adjust lighting and colors without losing quality. RAW photos are larger in size, so use them for critical shots where detail matters most. This format is ideal for creating truly professional-grade photos.
Keep the Background Simple
Shutterstock
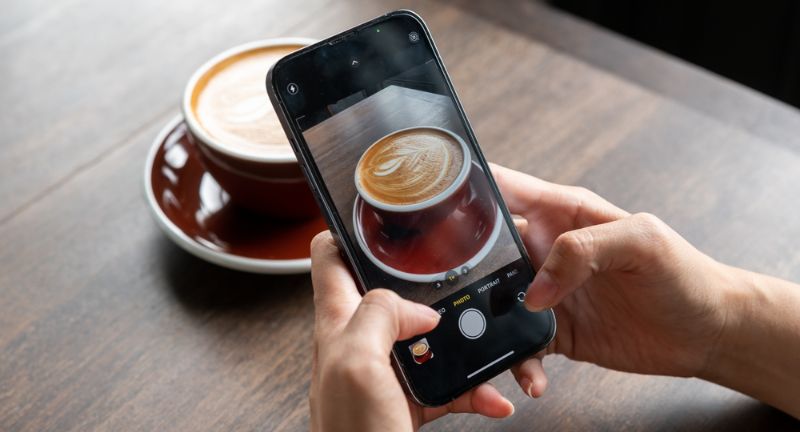
A cluttered background can distract from your subject and make your photo look less polished. Opt for clean, minimal backgrounds that emphasize your focal point. If you’re unable to change the setting, use Portrait Mode or cropping to minimize distractions. A simple background helps create striking, professional-looking images.
Use Reflective Surfaces
Shutterstock
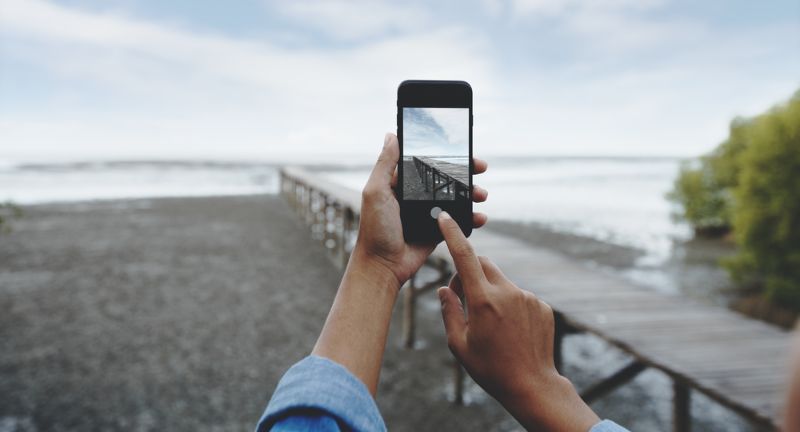
Reflective surfaces like water, glass, or mirrors add a creative element to your photos. Experiment with different angles and perspectives to incorporate stunning reflections. Reflections can also double your subject or create abstract effects, making your images more intriguing. This simple technique elevates your iPhone photography to the next level.
Capture Silhouettes

Shutterstock
Silhouettes are striking and dramatic, especially during sunrise or sunset. Position your subject against a bright background and lower the exposure to create a bold outline. This effect works well with people, trees, or architecture for a unique artistic touch. Capturing silhouettes is a creative way to highlight shapes and forms.
Try Night Mode
Shutterstock
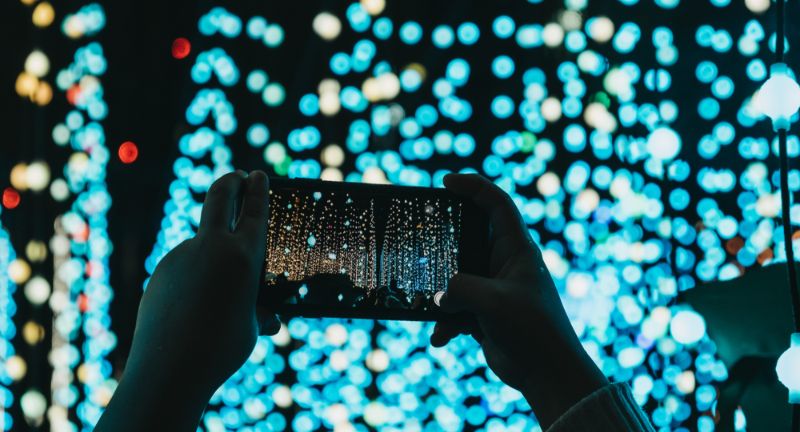
Night Mode brightens low-light scenes without sacrificing detail or introducing excessive noise. Place your iPhone on a stable surface or use a tripod for the best results. This feature is perfect for capturing cityscapes, starry skies, or cozy evening settings. Night Mode transforms dim environments into beautifully lit compositions.
Zoom In with Macro Photography
Shutterstock
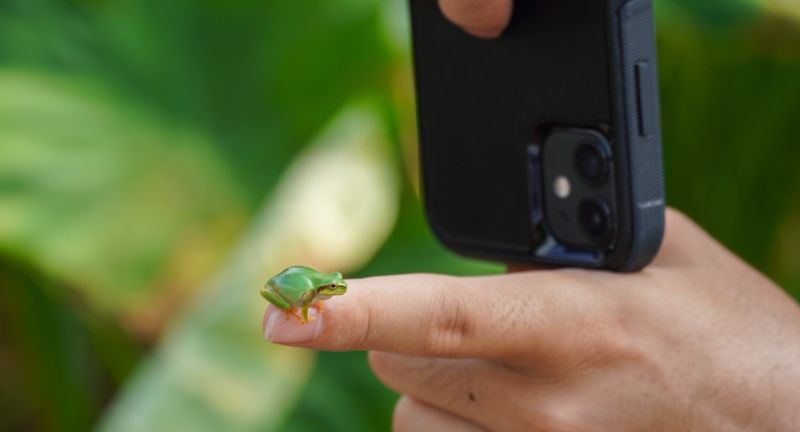
Macro photography on newer iPhones allows you to capture intricate details of tiny subjects, such as flowers, insects, or textures. Get as close as possible without losing focus to make your subject stand out. Use natural light to highlight details and avoid harsh shadows. This technique brings out the beauty of the smallest elements in your environment.
Experiment with Different Lenses
Shutterstock
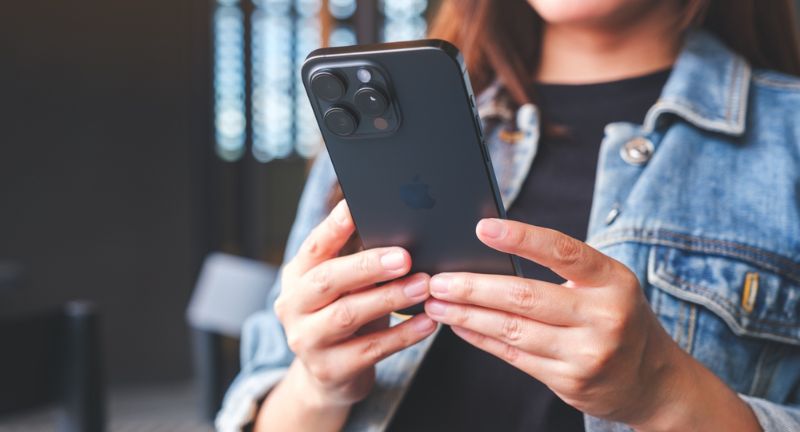
Modern iPhones come with multiple lenses, including ultra-wide and telephoto, offering unique perspectives. Use the ultra-wide lens for sweeping landscapes or large group shots. Switch to the telephoto lens for close-ups without compromising quality. Exploring these lens options adds variety and professionalism to your photography.
Conclusion

Shutterstock
Mastering iPhone photography is all about creativity, practice, and using the right tools and techniques. With these tips, you can capture professional-looking photos that amaze your audience and preserve your favorite moments in stunning detail. Whether you’re exploring natural landscapes or experimenting with artistic compositions, your iPhone can handle it all. Don’t be afraid to try new approaches and refine your skills along the way. The best camera is the one you have with you, and with your iPhone, you’re always ready to create something extraordinary.
Related Topics:
